So long, too long… oh so too long.
But let us begin!
For those who are new to this page, it may not be updated often but when it is the content is quality.
So along with it all:
If you haven’t read my other painting guides then please go to them to find out what I use for the base coat.
(Sorry I sprayed the tank ages ago and I am not sure what it is now.)
Other than the base coat… here we go.
So the first layer I did a heavy and rough layer of Elysian Green:
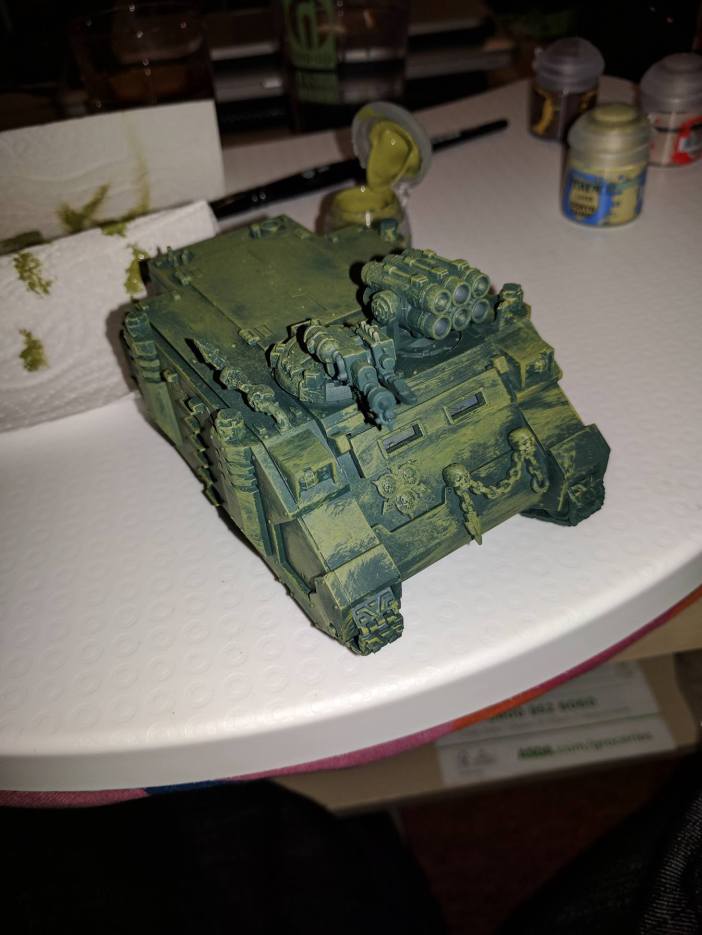
To follow this up I did a drybrush layer of Ogryn Camo. This gives a bit more life to the vehicle as well as some light and dark contrast:
As always dry brushing pulls the details out and adds some texture to the creation.
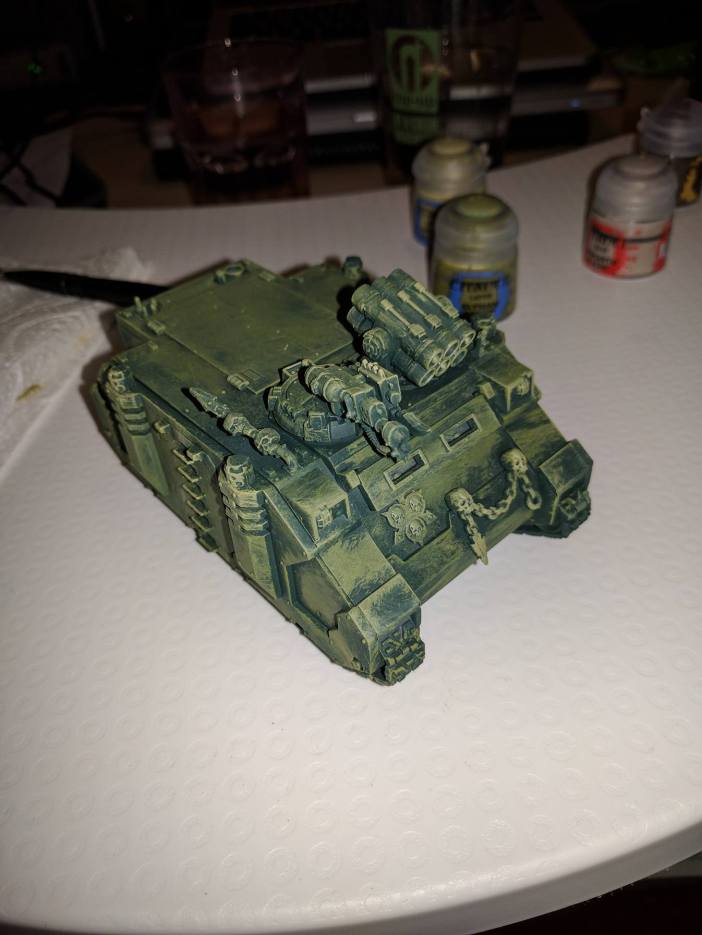
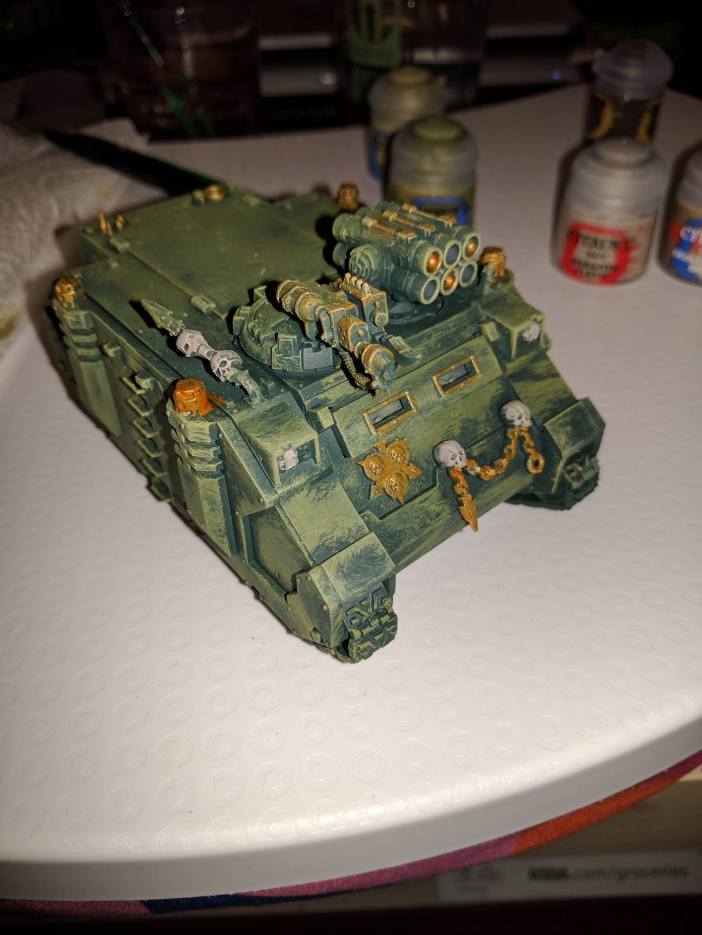
the next layers on it were very simple it requires adding all the detail in with… of course my two favourite ways of adding detail. The paint colours I am using for this is the same as I always use Skull crusher Brass and Rakarth Flesh.
I then applied my favourite paint which GW have made. If you haven’t tried there basing paints… Well where have you been all this time. I personally go for Stirland Mud (I believe that is the name).
So I applied to the tracks and around the edges to give another layer of realism.
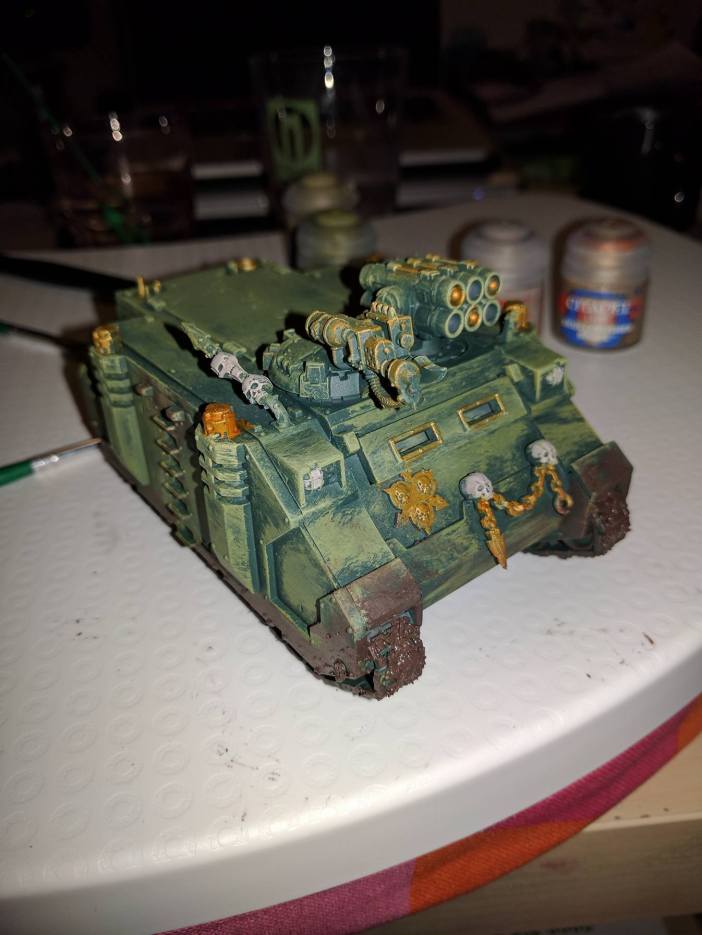
The last thing I will mention is do not wash the tank but if you feel compelled to.
Only put it in crevices as it will make your tank sparkle otherwise.
That is all
Sorry for the long wait and what I feel is a boring post.
Life has been getting in the way.
Remember you can never stop the rot
HG out!!
